
Installing Percona Server 5.7 MySQL on Ubuntu, CentOS, or Debian

Overview
Welcome to this series where we delve into Percona Server, XtraDB Cluster, and the XtraBackup Toolkit.
Percona Server stands out as a seamless substitute for MySQL, enhancing both features and stability. This server consistently delivers superior performance, along with additional engines and enhanced scalability.
Key Features of Percona Server:
XtraDB: This engine significantly improves query performance with a simple switch from InnoDB. Built atop InnoDB, it ensures backward compatibility without the need for a migration process.
PAM Authentication: Ideal for enterprise-grade solutions or seamless integration with other systems.
Drop-in Compatibility: Upgrading from MySQL is a breeze, requiring no changes to your existing schema or code.
Operational Metrics: Percona Server goes beyond by offering a plethora of built-in metrics. These metrics empower you to optimize your schema, providing valuable insights into the performance of users, tables, queries, and indexes.
Requirements
Setting up a new server with blendhosting.com and 1GB RAM, you have the flexibility to choose from various Linux distributions, including Debian 7.0, 8.0, 9.0, Ubuntu 14.04, 16.04, 17.04, and CentOS 6 or 7. All commands provided should be executed as the root user or using the sudo command.
Using repositories to install:
Percona offers both Sources and Binary distributions for all their software. However, it is recommended to utilize repositories for installation. This approach allows the resolution of software dependencies through the operating system’s package manager (apt for Debian and Ubuntu, yum for CentOS). Additionally, using repositories provides a convenient method for applying updates and security patches.
Steps for Ubuntu and Debian:
- Initially, we will download the repository package from Percona.
wget https://repo.percona.com/apt/percona-release_0.1-4.$(lsb_release -sc)_all.deb
- Proceed to install the downloaded package using the dpkg utility:
dpkg -i percona-release_0.1-4.$(lsb_release -sc)_all.deb

- Update the local package cache:
apt-get update
- Conclude the process by installing the Percona server package:
apt-get install percona-server-server-5.7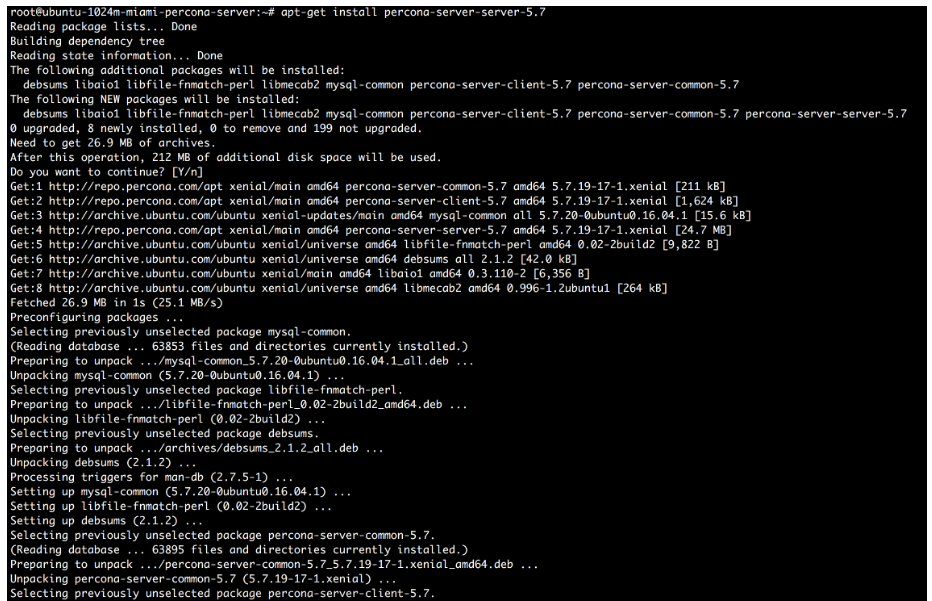
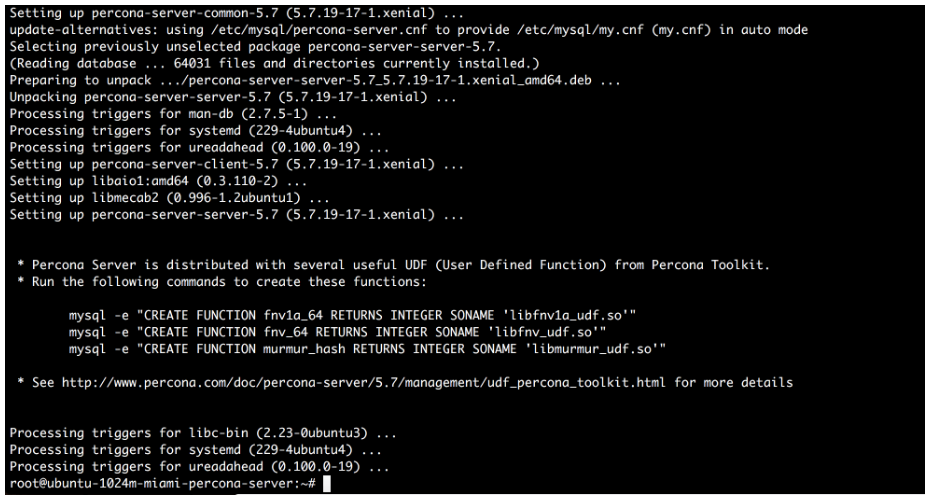
- Install the user-defined functions (UDF) as specified:
mysql -e "CREATE FUNCTION fnv1a_64 RETURNS INTEGER SONAME 'libfnv1a_udf.so'" -p
mysql -e "CREATE FUNCTION fnv_64 RETURNS INTEGER SONAME 'libfnv_udf.so'" -p
mysql -e "CREATE FUNCTION murmur_hash RETURNS INTEGER SONAME 'libmurmur_udf.so'" -p
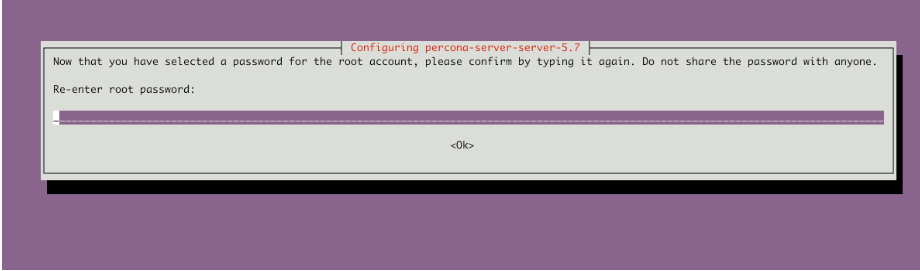
For security reasons, refrain from sharing the root password publicly. Instead, ensure that you input the root password that you set during the installation process.
To prevent the software from being upgraded from distribution repositories, create a new file at /etc/apt/preferences.d/00percona.pref and save the following content in it:
Package: *
Pin: release o=Percona Development Team
Pin-Priority: 1001
Steps for CentOS
- To begin, download and install the repository package from Percona.
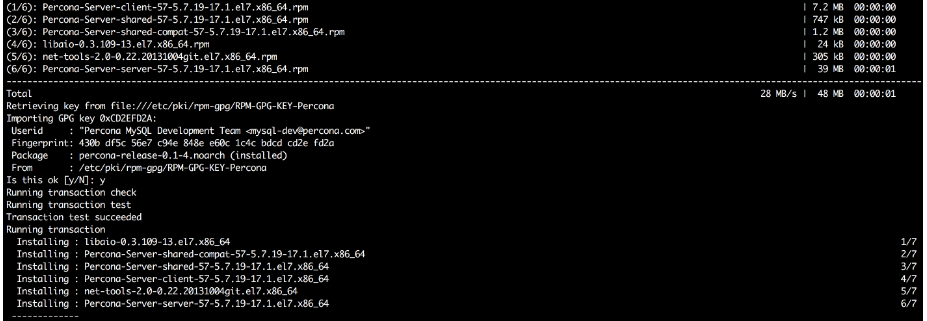
yum install http://www.percona.com/downloads/percona-release/redhat/0.1-4/percona-release-0.1-4.noarch.rpm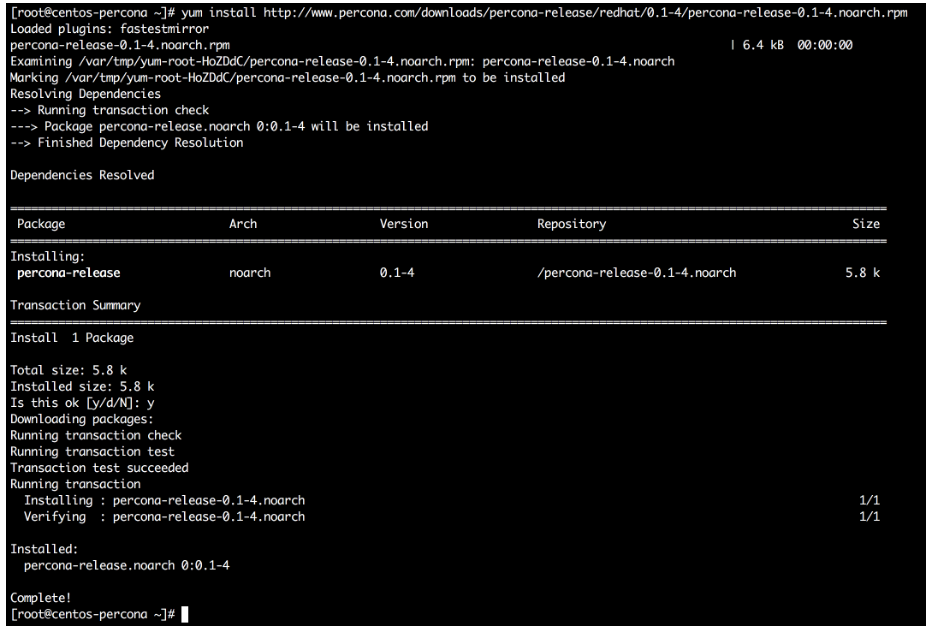
To ensure proper installation, list the package you are about to install using the following command:
yum list | grep Percona-Server-57
After running the command, you should observe a listing that indicates the available version from the repository, either “percona-release-x86_64” or “percona-release-x86,” depending on the architecture you are installing on.
- Conclude the process by installing the package with the following command:
yum install Percona-Server-server-57
Take note that the default password will be generated automatically. Verify yours by executing the following command:
grep "temporary password" /var/log/mysqld.log
During this process, the package manager will prompt you to confirm the new repository key and accept the packages to be installed.
Setting up and launching the server
In Ubuntu and Debian distributions, the default data directory is located at /var/lib/mysql, with the configuration stored in /etc/mysql/my.cnf.
For CentOS, the default data directory is also /var/lib/mysql, and the configuration file is in /etc/my.cnf.
The server is equipped with standard init.d scripts, enabling you to start, restart, or stop it. Typically, on Debian and Ubuntu, it should start automatically upon installation unless it encounters an error. If needed, you can manually start it by running:
service mysql start
To verify that it’s running, you can use the following command:
service mysql status
To stop the server, use the following command:
service mysql stop
To restart the server, execute the following command:
service mysql restartConfiguring and Testing Percona Server 5.7
Proceed to connect to the server, create a new database, establish a simple schema, and execute a couple of queries.
- To connect to the MySQL server, provide the password you selected during the installation process:
mysql -p
- Create a new database by executing the appropriate SQL command:
CREATE DATABASE testdb;
- Create a table by specifying the necessary SQL command:
use testdb;
CREATE TABLE Users (
Id int NOT NULL,
Name varchar(255),
Email varchar(255),
Note varchar(255),
PRIMARY KEY (Id)
);
- Insert data into the table and perform selection queries using the appropriate SQL commands:
INSERT INTO Users (Id, Name, Email, Note)
VALUES (1, 'John Doe', 'jd@exmaple.com', 'Test User');
To retrieve records, execute the necessary SQL command, such as a SELECT query:
SELECT * FROM Users;
- Upon completion of the activities, drop the “testdb” by using the appropriate SQL command.
DROP DATABASE testdb;
To exit the MySQL prompt, you can use either CTRL+D or the command quit;.
Establish a new user, database, and permissions
Let’s proceed with creating a new database, a user named “jeff,” and granting that user permissions to the “blog” database.
- Connect to the MySQL server and provide the root password that you entered during the installation:
mysql -p
- Create the database by running the appropriate SQL command:
CREATE DATABASE blog;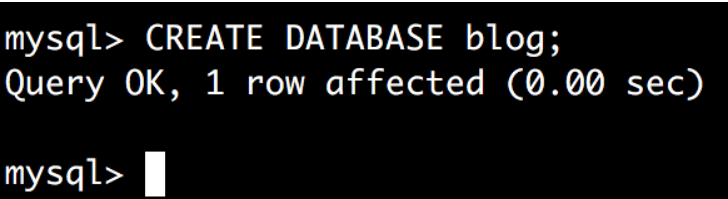
- Add a new user, restricting access to localhost, and set the password to “mysecretone” by executing the necessary SQL commands.
CREATE USER 'jeff'@'localhost' IDENTIFIED BY 'mysecretone';
- Grant the user “jeff” all permissions on the “blog” database using the appropriate SQL command.
GRANT ALL PRIVILEGES ON blog.* TO 'jeff'@'localhost';
- To ensure that our changes are applied, reload the privileges using the appropriate SQL command.
FLUSH PRIVILEGES;
To exit the MySQL prompt, you can use either CTRL+D or the command quit;.
- Verify the functionality of the newly created user by testing it with relevant database operations.
mysql -u jeff -pmysecretone
Once authenticated as “jeff,” switch to the newly created database using the appropriate SQL command.
use blog;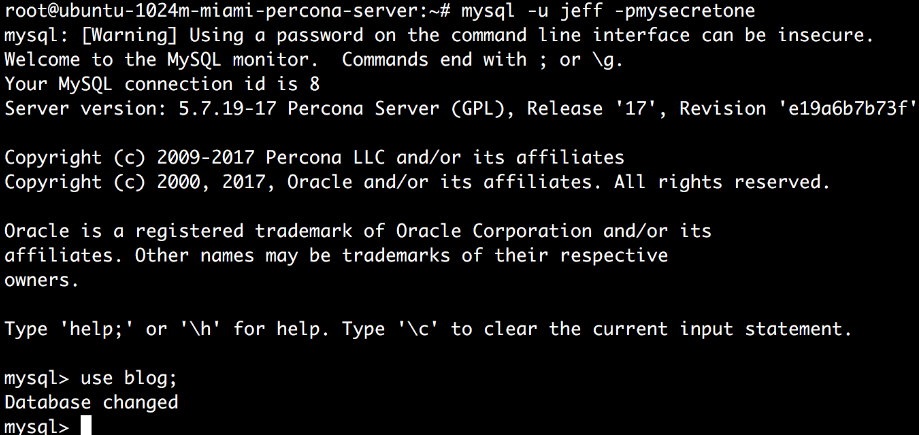
In Summary
In under 15 minutes, we’ve completed the installation process of Percona Server 5.7 and established a new user for use in your application. This simple process can provide immediate enhancements over using MySQL Server with minimal effort.