In the realm of fast-paced development and automation, Continuous Integration (CI) and Continuous Delivery (CD) are vital components of the modern software development process. Jenkins, a Java-based automated server solution, derived from the popular Hudson project, is widely adopted by companies for diverse tasks, including running tests, triggering processes on specific commits, and building new software versions.
Jenkins stands out for its versatility, making it a fundamental tool for optimizing development workflows. This guide focuses on setting up Jenkins on your CentOS 7.4 VPS server. Whether you’re exploring its capabilities, learning its nuances, or planning integration into your projects, this tutorial provides a concise walkthrough for deploying Jenkins effectively.
Requirements
CentOS 7.4 VPS Server
Fundamental skills in editing files in Linux systems, installing/removing packages, and manipulating services
Java Installation Guide
yum install java-1.8.0-openjdk
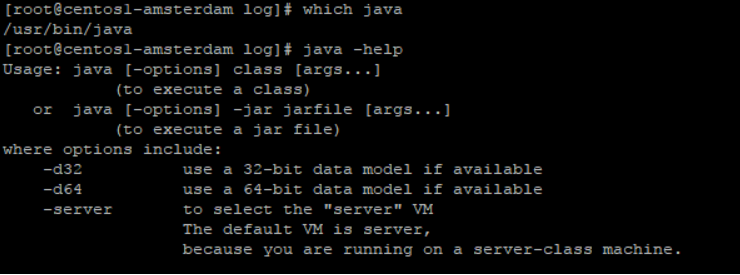
After installation, verify that Java has been correctly added to the environment variables and is accessible to the system.
which java
java -help
You should confirm that Java is available (you can check by running `java -help`; the output may be truncated to fit the screen).
2) To set up JAVA_* variables for your environment, execute the following commands:
readlink /etc/alternatives/java
ls -l and locate the jvm dir
Now that we know the location of the jvm directory, let’s set a couple of important JAVA_ variables:
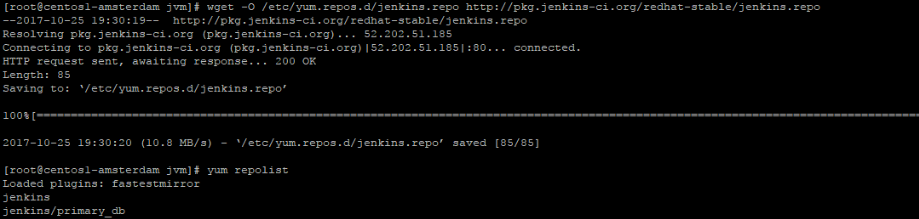
The recommended method for obtaining Jenkins is from the official upstream repositories. Download the official Jenkins repo file and ensure that it is added without any issues.
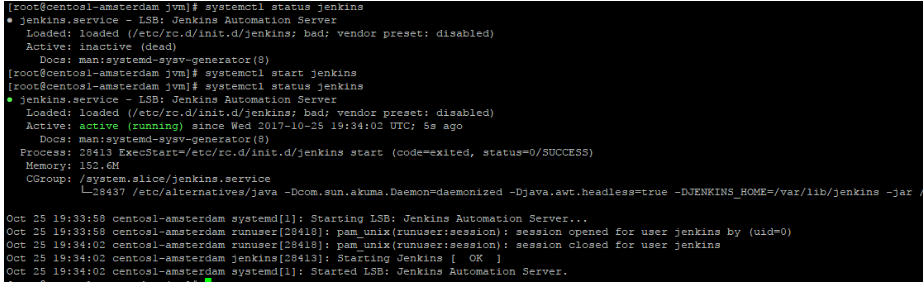
After successfully installing the Jenkins package, start the process and verify that there are no issues with it.
systemctl start jenkins
systemctl status jenkins
Great! With Jenkins installed, let’s make some preparations to get it ready for work.
Setting up Jenkins for the First Time
By default, Jenkins is accessible on port 8080. Open your browser and navigate to the Jenkins web interface by entering your VPS IP followed by the port, like this: `192.168.1.1:8080`. You should see the following interface:
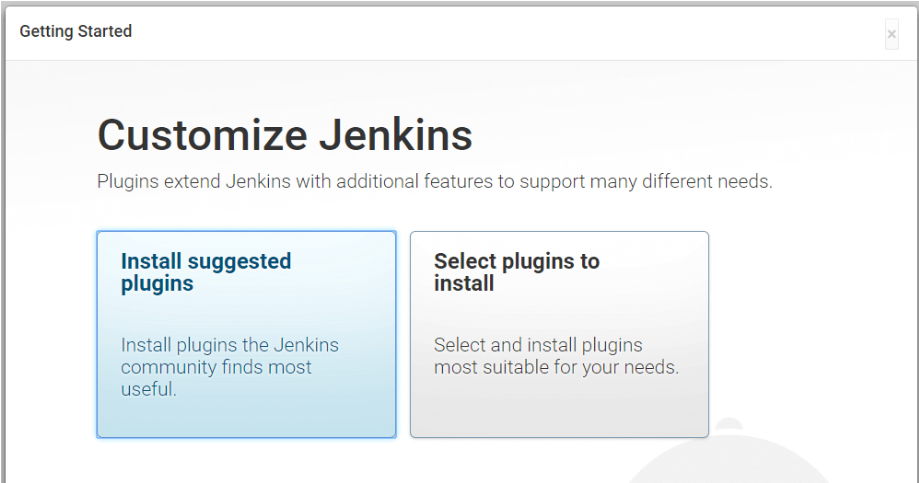
On your VPS server, run cat /var/lib/jenkins/secrets/initialAdminPassword, copy the result, and paste it into the Jenkins web interface. You’ll then be prompted by Jenkins to either install suggested plugins or select a list of plugins.
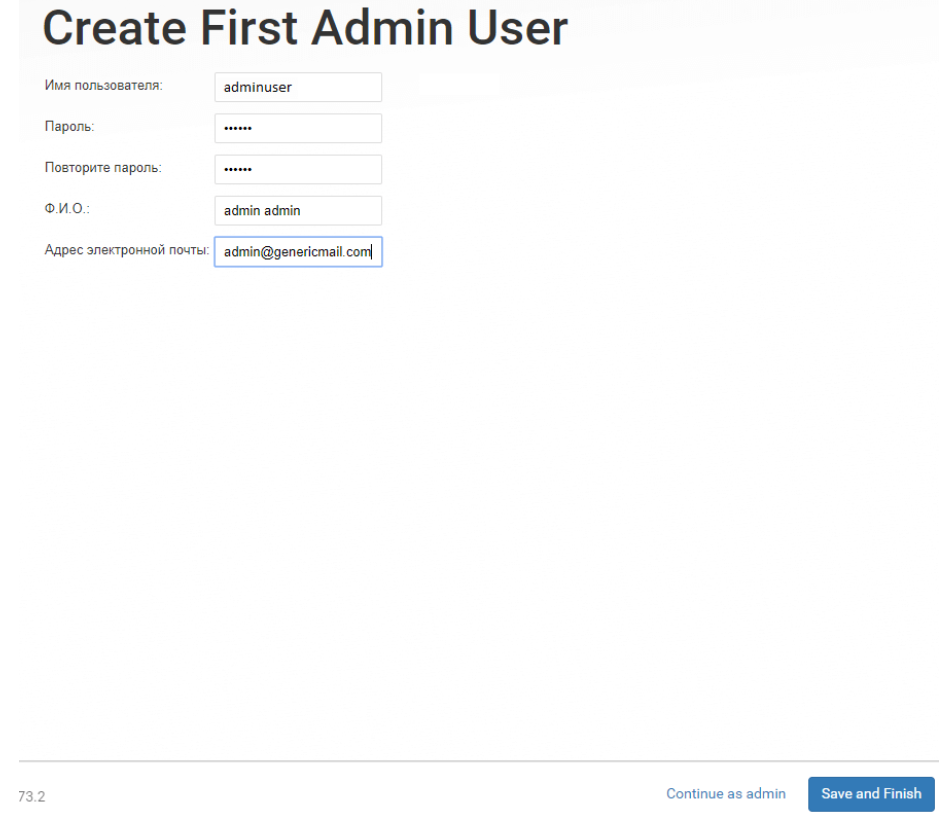
If you are new to Jenkins, it’s advisable to choose the suggested plugin list. Once the installation process is complete, you’ll be redirected to the Jenkins web interface with a prompt to create your admin user. Please fill in the required information and press “Save and Continue.”
continue as admin
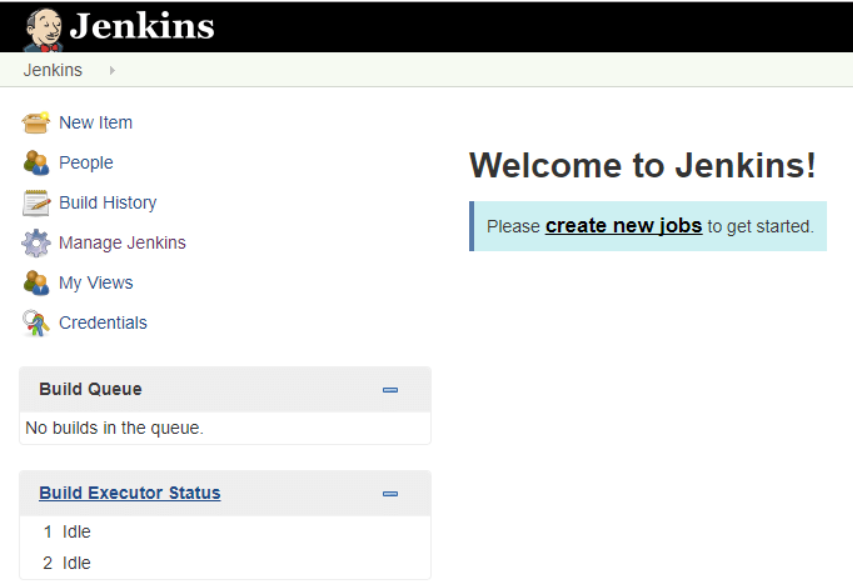
You’ll be directed to the Jenkins main menu, and now you can start experimenting with your new Jenkins instance!
In Summary
Now you know how to set up your own Jenkins instance. It is a powerful tool that you can use for various purposes. With a few workers already set up, you can immediately start running tasks. Jenkins features a user-friendly web interface, extensive documentation, and excellent performance. Don’t forget to explore the plugin list to discover additional features you can add to your already deployed instance.