The implementation of Voice over Internet Protocol (VoIP) aims to reduce communication costs for various entities, including companies, schools, hospitals, and individuals. This cost reduction is achieved by leveraging existing data networks, eliminating the need for building new, expensive infrastructure. VoIP is commonly applied using a Local Area Network (LAN) system and supported VoIP protocols.
TeamSpeak is a VoIP application that utilizes the internet or local network for communication, frequently employed by gamers to enhance collaboration during online games. TeamSpeak is compatible with Windows OS, Linux, Android, macOS, and iOS, requiring headphones and a microphone for communication. Users connect to a TeamSpeak Server, either by creating their own or joining an existing one, and can establish specific channels for chatting with friends or teams.
Applications of TeamSpeak include:
Online Gaming: TeamSpeak is widely used by gamers for real-time communication while playing online games.
Business: Companies use TeamSpeak to reduce phone charges, providing an efficient and cost-effective communication solution.
Education: TeamSpeak facilitates virtual classrooms and online courses, allowing students to engage in discussions with each other.
Requirements
These are the prerequisites before starting the tutorial:
Set up a Windows Server either in your local environment or use a VPS server, as provided here[1].
Ensure you have the Remote Desktop Connection client installed on your Windows system.
Have the necessary credentials to access the Windows Server, including username and password.
Installation
The initial step is to download the TeamSpeak Server for Windows. You can obtain the 32-bit version here[2] and the 64-bit version here[3].
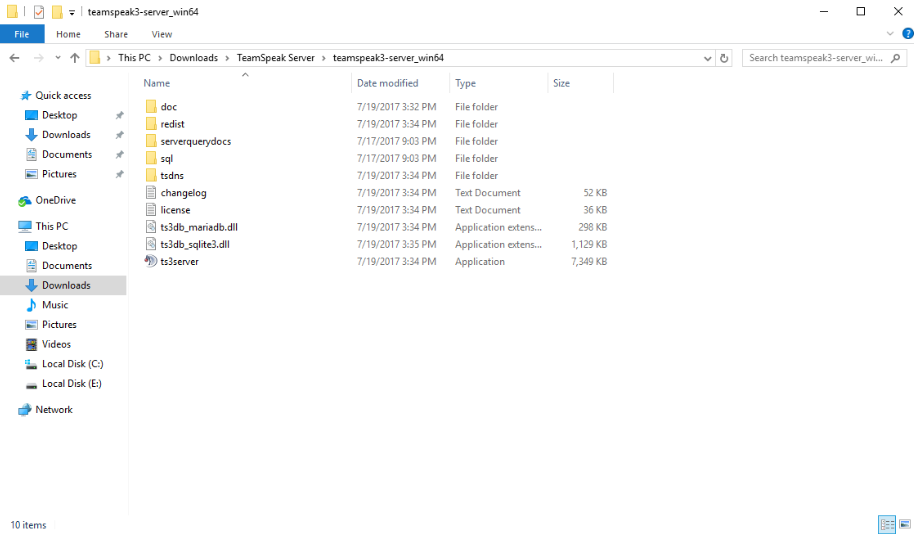
After downloading, extract the files from the downloaded archive.
Navigate to the “teamspeak3-server_win64” folder and execute the “ts3server.exe” file.
Once the TeamSpeak Server is running, make note of the Server Query Admin Account and the Server Admin Token. You’ll need this information later when configuring the TeamSpeak Client.
That concludes the tutorial. I hope you find it clear and helpful in creating a TeamSpeak Server on Windows Server. If you encounter any bugs or come across documentation errors, please feel free to leave comments below.