How to Use RDPGuard to Protect Your Windows VPS from BruteForce Attacks
How to Use RDPGuard to Protect Your Windows VPS from BruteForce Attacks
When I purchased my first Windows VPS, the support team informed me that my server was under a severe brute force attack. Unsure of what to do, the support advised, “Handle it yourself.” After researching numerous tutorials, I discovered that I was facing around 10 thousand brute force attacks per day. It was unbelievable!
To address the issue, I decided to install RDPGuard software, which automatically blocks IPs after exceeding a defined number of failed login attempts. I configured it to lock out IPs after three failed login attempts, and so far, it has successfully blocked approximately 500 IPs attempting to guess my username and password through brute force attacks.
If you’d like instructions on how to install and configure RDPGuard, follow the step below.
1. Download
Visit the RDPGuard website[1] and download the RDPGuard software.
2. Installing
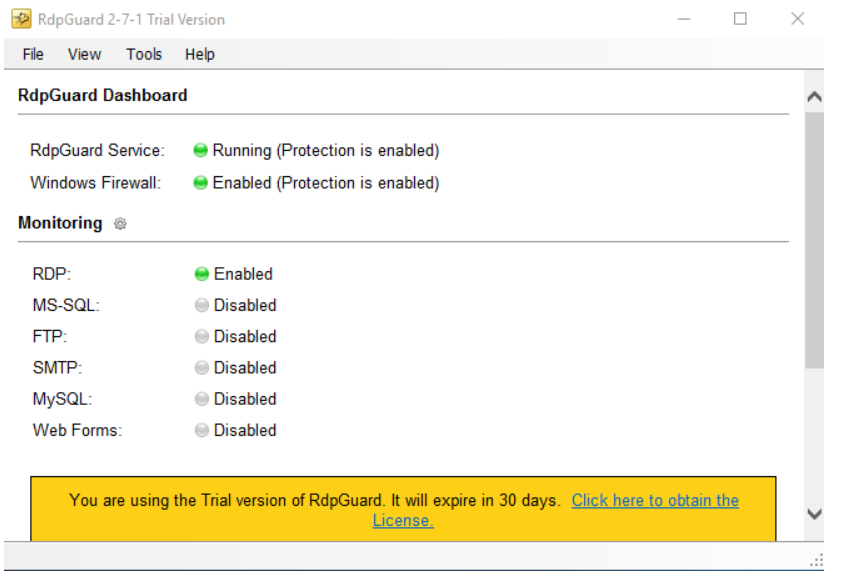
Upon completion of the installation, you will encounter this screen. If your Windows Firewall is enabled, you will see a green circle. Otherwise, a red circle will be displayed, indicating that you need to enable it. (RDPGuard software automatically blocks IPs using Windows Firewall.)
3. Personalised Setup
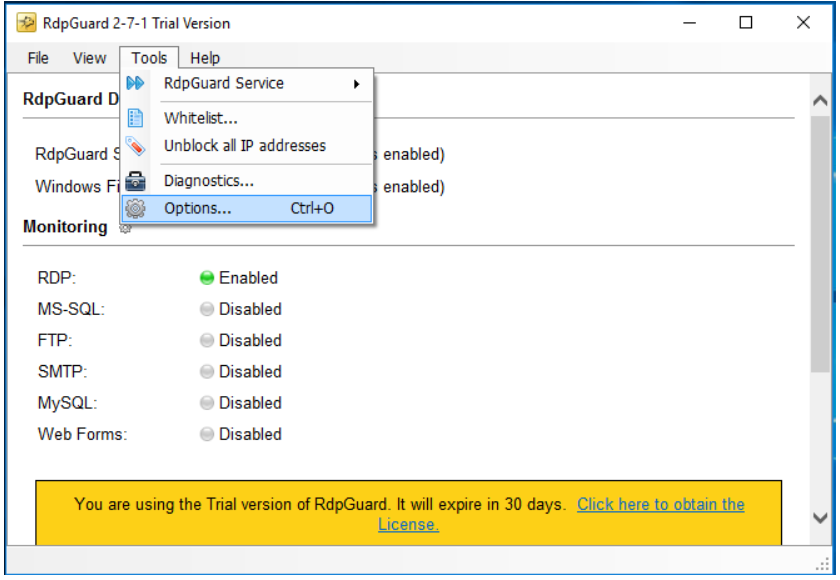
To customize your configuration, navigate to Tools > Options.
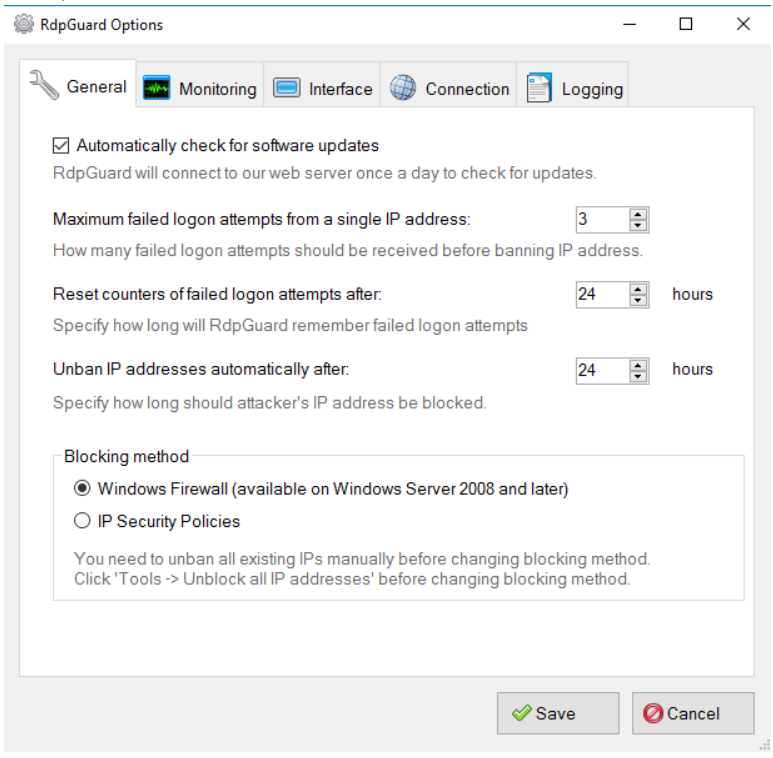
4. Update Automatically
Under the General tab, you have the option to enable or disable automatic updating. You can set the maximum failed logon attempts from a single IP address (the default is typically set to 3, which is advisable). In case you exceed the maximum failed logon attempts, the “Reset counters failed logon attempts after” option allows you to define the hours after which the counters are reset, allowing you to attempt login again (the default is usually set to 24 hours). Additionally, with “Unban IP address automatically after,” you can specify the number of hours after which all blocked IPs are automatically unblocked.
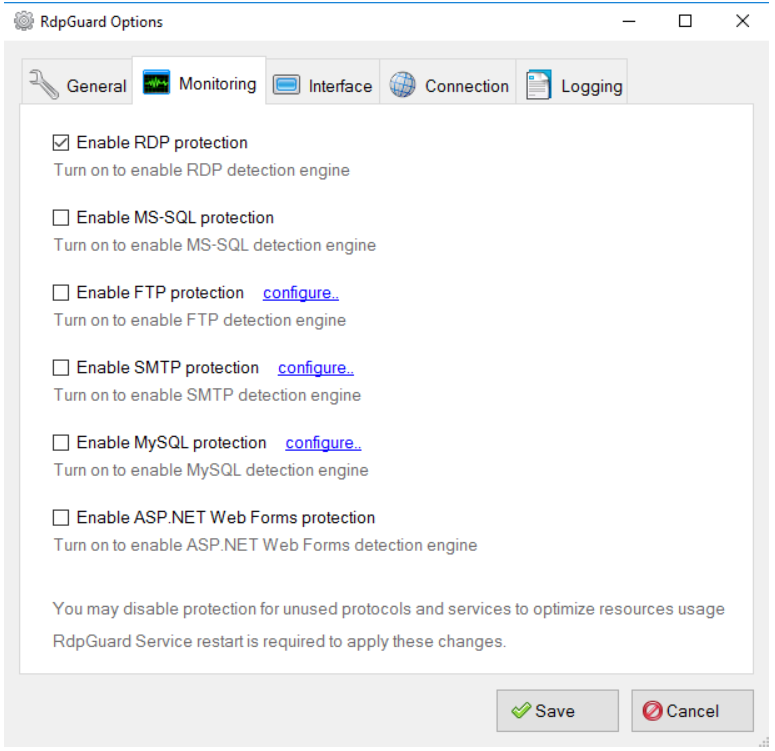
5. Port settings
If you are using alternative ports or other software such as MS-SQL, FTP, SMTP, MySQL, or ASP.NET, you can enable protection for these services and customize the configuration accordingly.
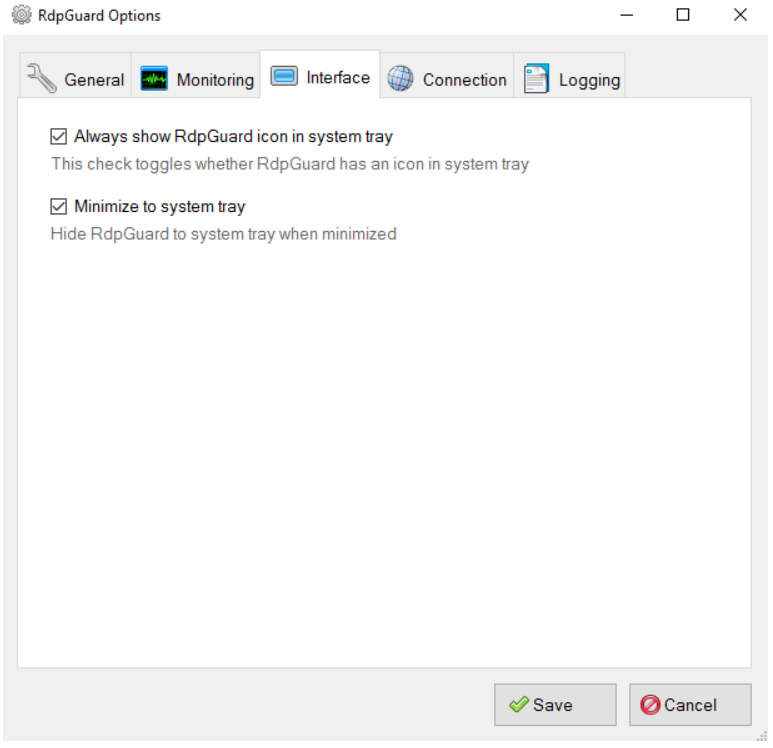
6. Interface
In the Interface tab, you’ll find options that allow you to choose whether to always display the RDPGuard icon in the system tray or not.
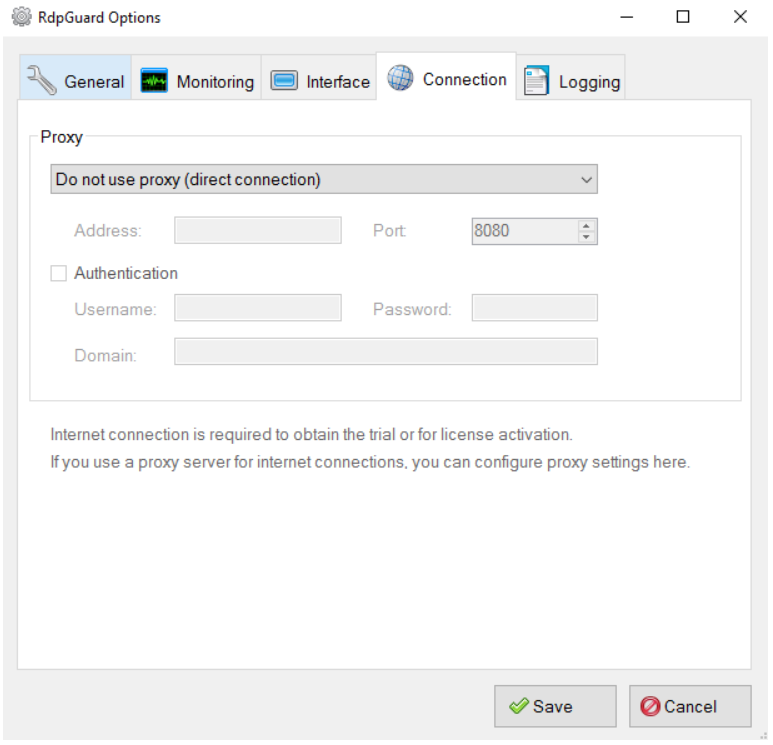
7. Connection
If you are using a proxy in your Windows VPS to connect to the internet, you can configure it in the Connection tab.
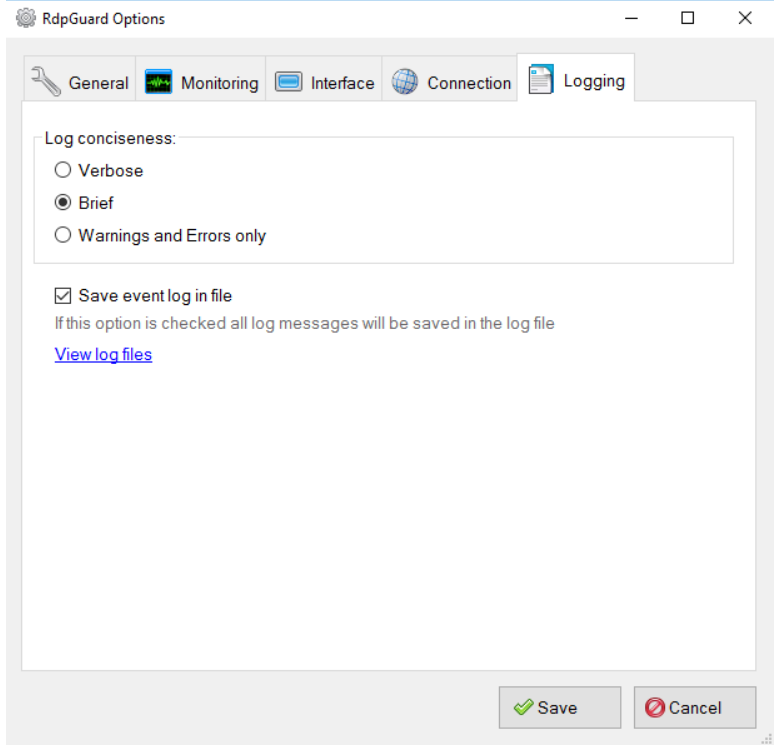
8. Logging
In the Logging tab, you can decide whether to save or not save failed logs. You can also specify the type of logs to be saved, choosing from options like Verbose, Brief, or Warning and Errors.
Important note: RDPGuard is a trial software with a 30-day limit. If you intend to use it for the long term, you should consider purchasing it from its official website. For additional assistance with RDPGuard, you can refer to the provided resources on their website.