Wubi Installation

The Wubi installer was developed as an independent project, aiming to simplify the installation process of Ubuntu for Windows users, providing them with an accessible way to try out the Ubuntu operating system.
Moreover, Wubi served as the official Ubuntu installer for Microsoft Windows from 2008 until 2013. It allowed users of Microsoft Windows to seamlessly install Ubuntu from within the Windows operating system, utilizing an existing Windows partition.
In this article, we will delve into a comprehensive exploration of the Wubi installer, providing insights into its functionalities and demonstrating how to utilize Wubi for installing Ubuntu. Additionally, we will guide you through the process of uninstalling Ubuntu from a Microsoft Windows environment. Let’s get started!
Jump To...
What does Wubi entail?
Wubi, short for Windows-based Ubuntu Installer, is a free software tool designed to install Ubuntu within the Windows file system. By doing so, it eliminates the necessity for CD burning or the creation of a dedicated partition for Ubuntu.
Instead, Wubi integrates a new Ubuntu option into the existing Windows boot menu. This feature allows users to seamlessly choose between running Linux and Windows without the need for repartitioning the disk or risking potential data loss.
Namely, Wubi configures the Windows machine to dual-boot, essentially treating the Linux Ubuntu installation on Windows as equivalent to a standard installation.
Moreover, the Wubi installation is not a distinct virtual machine instead, it operates as a stand-alone loop-mounted installation. It utilizes a disk image created on the Windows file system to run Ubuntu within the Microsoft Windows desktop environment.
It is essential to note that Canonical, the primary developer and creator of Ubuntu, discontinued support for Wubi in 2013. This decision was made due to conflicts arising from changes in newer versions of Windows that posed challenges with the Wubi boot loader.
Certainly, it is still possible to download and run Wubi from older download sources. However, it’s crucial to note that this practice is not recommended by experts, and undertaking such actions is done at your own risk.
How can one install Ubuntu on Microsoft Windows utilizing Wubi?
Installing Ubuntu using the Wubi installer is pretty straightforward process. The installation itself is largely automated and requiring users to complete only a few steps.
But before we dive into the process, it is worth mentioning that the Hibernation mode is not available when you use Wubi to install Ubuntu. Additionally, Wubi has a slightly slower performance compared to a dedicated Linux Ubuntu installation.
Step 1: Install Wubi
Firstly, you need to download Wubi from the Ubuntu Windows Installer Download Page. Moreover, the Wubi installer will automatically download the latest version of Linux Ubuntu from the server during the installation process.
Step 2: Download Ubuntu
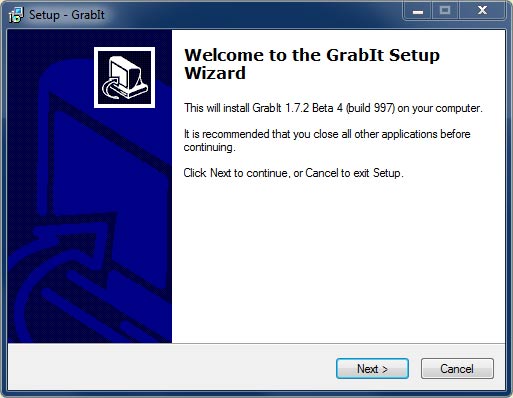
After downloading Wubi, proceed to install and run the installer.
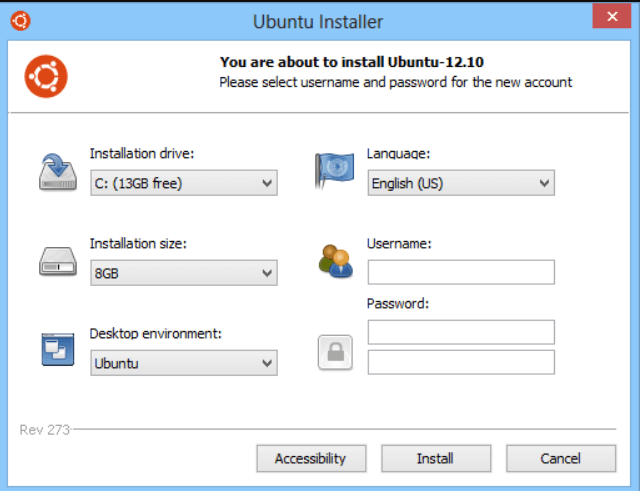
Most of the fields, including the installation drive, language, desktop environment, and installation size, can be left at their default options set by Wubi. You’ll only need to set a username and password, confirming the password by retyping it. Ensure you use a username and password that you can easily remember.
After configuring the necessary settings, click on the “Install” button to initiate the installation process.
Certainly, you have the option to choose other virtual private server desktop environments if you wish, including Kubuntu, Xubuntu, or any other official Linux Ubuntu version supported by Wubi.
Step 3: Finalize the Setup Process
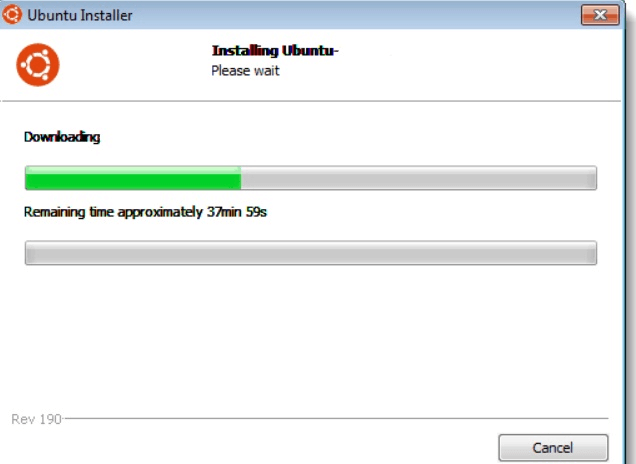
After clicking “Install,” the Ubuntu Setup progress window will appear on your desktop.
Once Ubuntu has finished installing, you’ll need to reboot your computer. Choose the “Reboot now” option to finalize the setup. After that, click the “Finish” button to restart your computer.
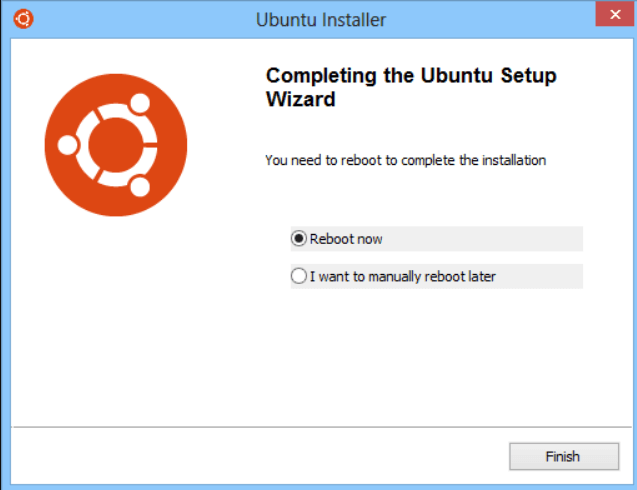
Upon selecting “Finish,” your computer will undergo a restart, and the Windows Boot Manager will be displayed.
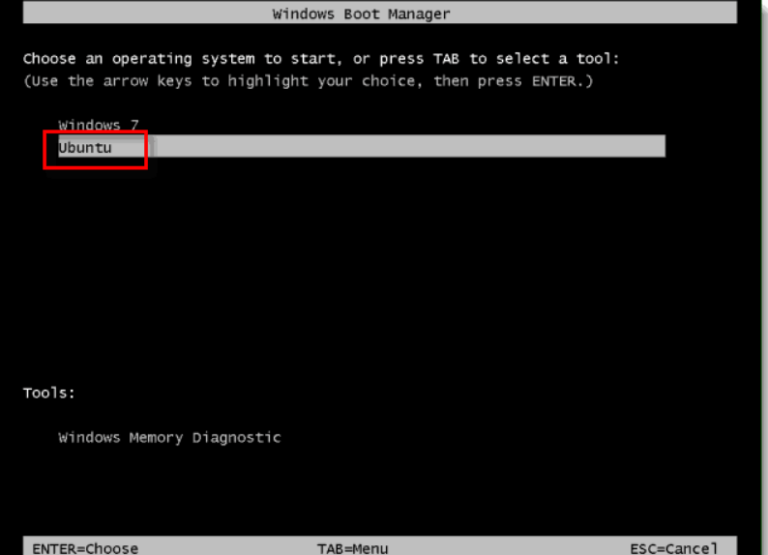
In this step, utilize the down arrow key to highlight and select Ubuntu in the Windows Boot Manager, then press Enter to load Ubuntu. Following this action, Ubuntu will be successfully installed on your operating system.
Step 4: Complete the Ubuntu Installation
Initially, you need to wait for the installation to complete.
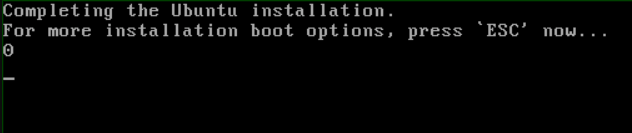
Upon completion, Ubuntu will automatically restart your computer. During the boot-up process, you’ll once again need to select Ubuntu, as you did in the previous step.

This time, after pressing Enter, you will also need to choose Ubuntu, Linux generic from the Grub boot manager and then press Enter.
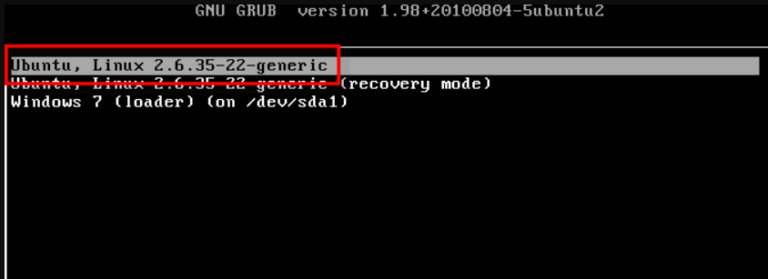
With these steps, you have accomplished the successful installation of Ubuntu on your MS Windows operating system.
How do I remove Ubuntu from the Windows Operating System?
As noted earlier, Wubi is compatible only with older versions of the Windows operating system, including Windows XP, Windows Vista, and Windows 7.
To uninstall Ubuntu from any of these operating systems, you can utilize the standard Microsoft Windows Add or Remove Programs/Uninstall function.
Removing Ubuntu from Windows XP
Begin by accessing the Start menu. From there, open the Control Panel.

Next, click on the “Add or Remove Programs” option. Once the tab with your files opens, locate Ubuntu, select it, and click on the “Remove” button.
Subsequently, click on the “Uninstall” button. On the “Completing the Ubuntu Setup Wizard” window that appears, click the “Finish” button to initiate the uninstallation of Ubuntu.
Removing Ubuntu from Windows Vista and Windows 7
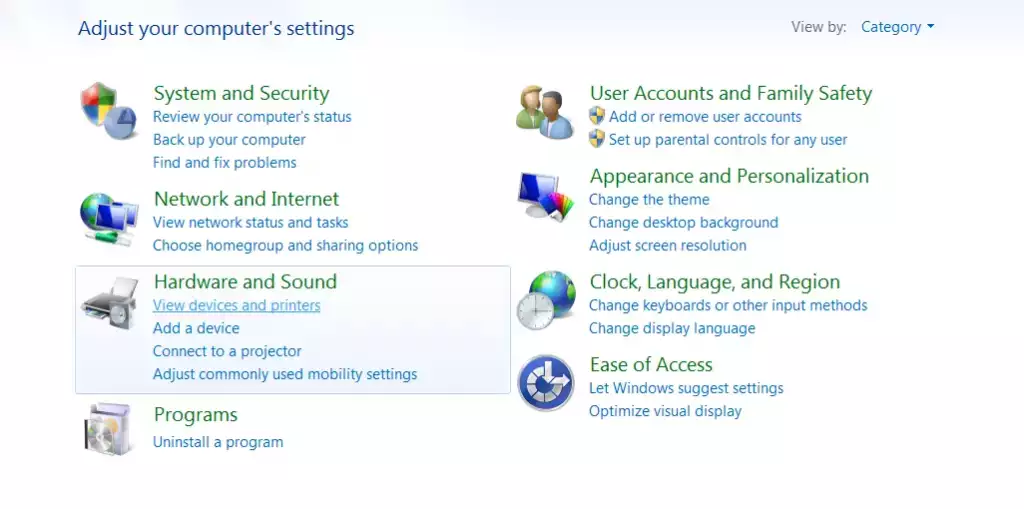
To remove Linux Ubuntu from Windows Vista and Windows 7, access the Control Panel and choose the “Uninstall a Program” option.
Proceed to the “Uninstall a Program” option, open it, and choose Ubuntu. After selecting the “Uninstall/Change” option, the Wubi Uninstall window will appear.

In this window, click on the “Uninstall” button. After doing so, the “Completing the Wubi Uninstall Wizard” will appear. Click on “Finish” to conclude the uninstallation process.

With these steps, Ubuntu has been successfully removed from your Windows Vista or Windows 7 operating system.
Removing Ubuntu from Windows 8
The process of uninstallation on Windows 8 differs slightly. Specifically, to access the “Add or Remove Programs” option, you need to right-click on any non-store application package on your Start screen.
Subsequently, click on the “Uninstall” option to open the Programs and Features tab on the original user interface.
Following this, choose Ubuntu and click on the “Uninstall/Change” button. This action will prompt the appearance of the Wubi Uninstall window.
Click on the “Finish” button to execute the removal of Ubuntu from your computer.
Conclusion
Wubi is a valuable open-source tool that facilitates the straightforward installation of Linux Ubuntu using a user-friendly Windows frontend. It’s important to note that while Wubi is no longer the official Ubuntu installer for Microsoft Windows, it remains usable solely on older versions of the Microsoft Windows operating system.
Still, Wubi is a great and inexpensive way for you to test out Ubuntu and see whether you like it before you make the final switch.
Frequently Asked Questions
As Linux Ubuntu no longer supports the Wubi software, it is only compatible with the following versions of the Windows operating system:
Windows 98
ME
Windows 2000
Windows XP
Windows Vista
Windows 7
Here are some of the advantages of Wubi:
Easy Ubuntu installation
No need for separate partitions
It is free to get
Allows you to switch between Ubuntu and Windows
Great for testing out Ubuntu